
Article Summary
Learning how to draw a flower starts with mastering three core skills: mark-making, shapes and volumes, and perspective. This article walks through each skill, then applies them in a beginner-friendly, step-by-step flower drawing tutorial. You'll gain the foundational techniques to draw any flower with confidence.
Flowers have fascinated artists, naturalists, and humanity, in general, for centuries. They sum up beauty in bursts of colors, lines, and shapes. When drawing a flower, you partake in this beauty. I’m going to teach you a step-by-step process for how to draw flowers and many other botanicals.

Before learning how to draw flowers, let’s examine the individual skills you’ll need to learn to build proficiency in drawing nature.
Recommended Udemy course

3 Skills to learn for drawing flowers
1. Mark-making
Botanicals provide a wide range of tactile textures to work with. They can range from soft and delicate to wiry and tough. The lines and marks we create when drawing should communicate these textural differences. To capture the softness of a petal, we must use soft lines. To capture the stiffness of a stem, we must use stiff lines. When drawing flowers we may encounter sharp thorns, springy leaves, or fuzzy blossoms. Each of these should be drawn using different kinds of mark-making.
Below you’ll find a collection of different kinds of lines and marks. Each communicates a different tactile sensation to the viewer.
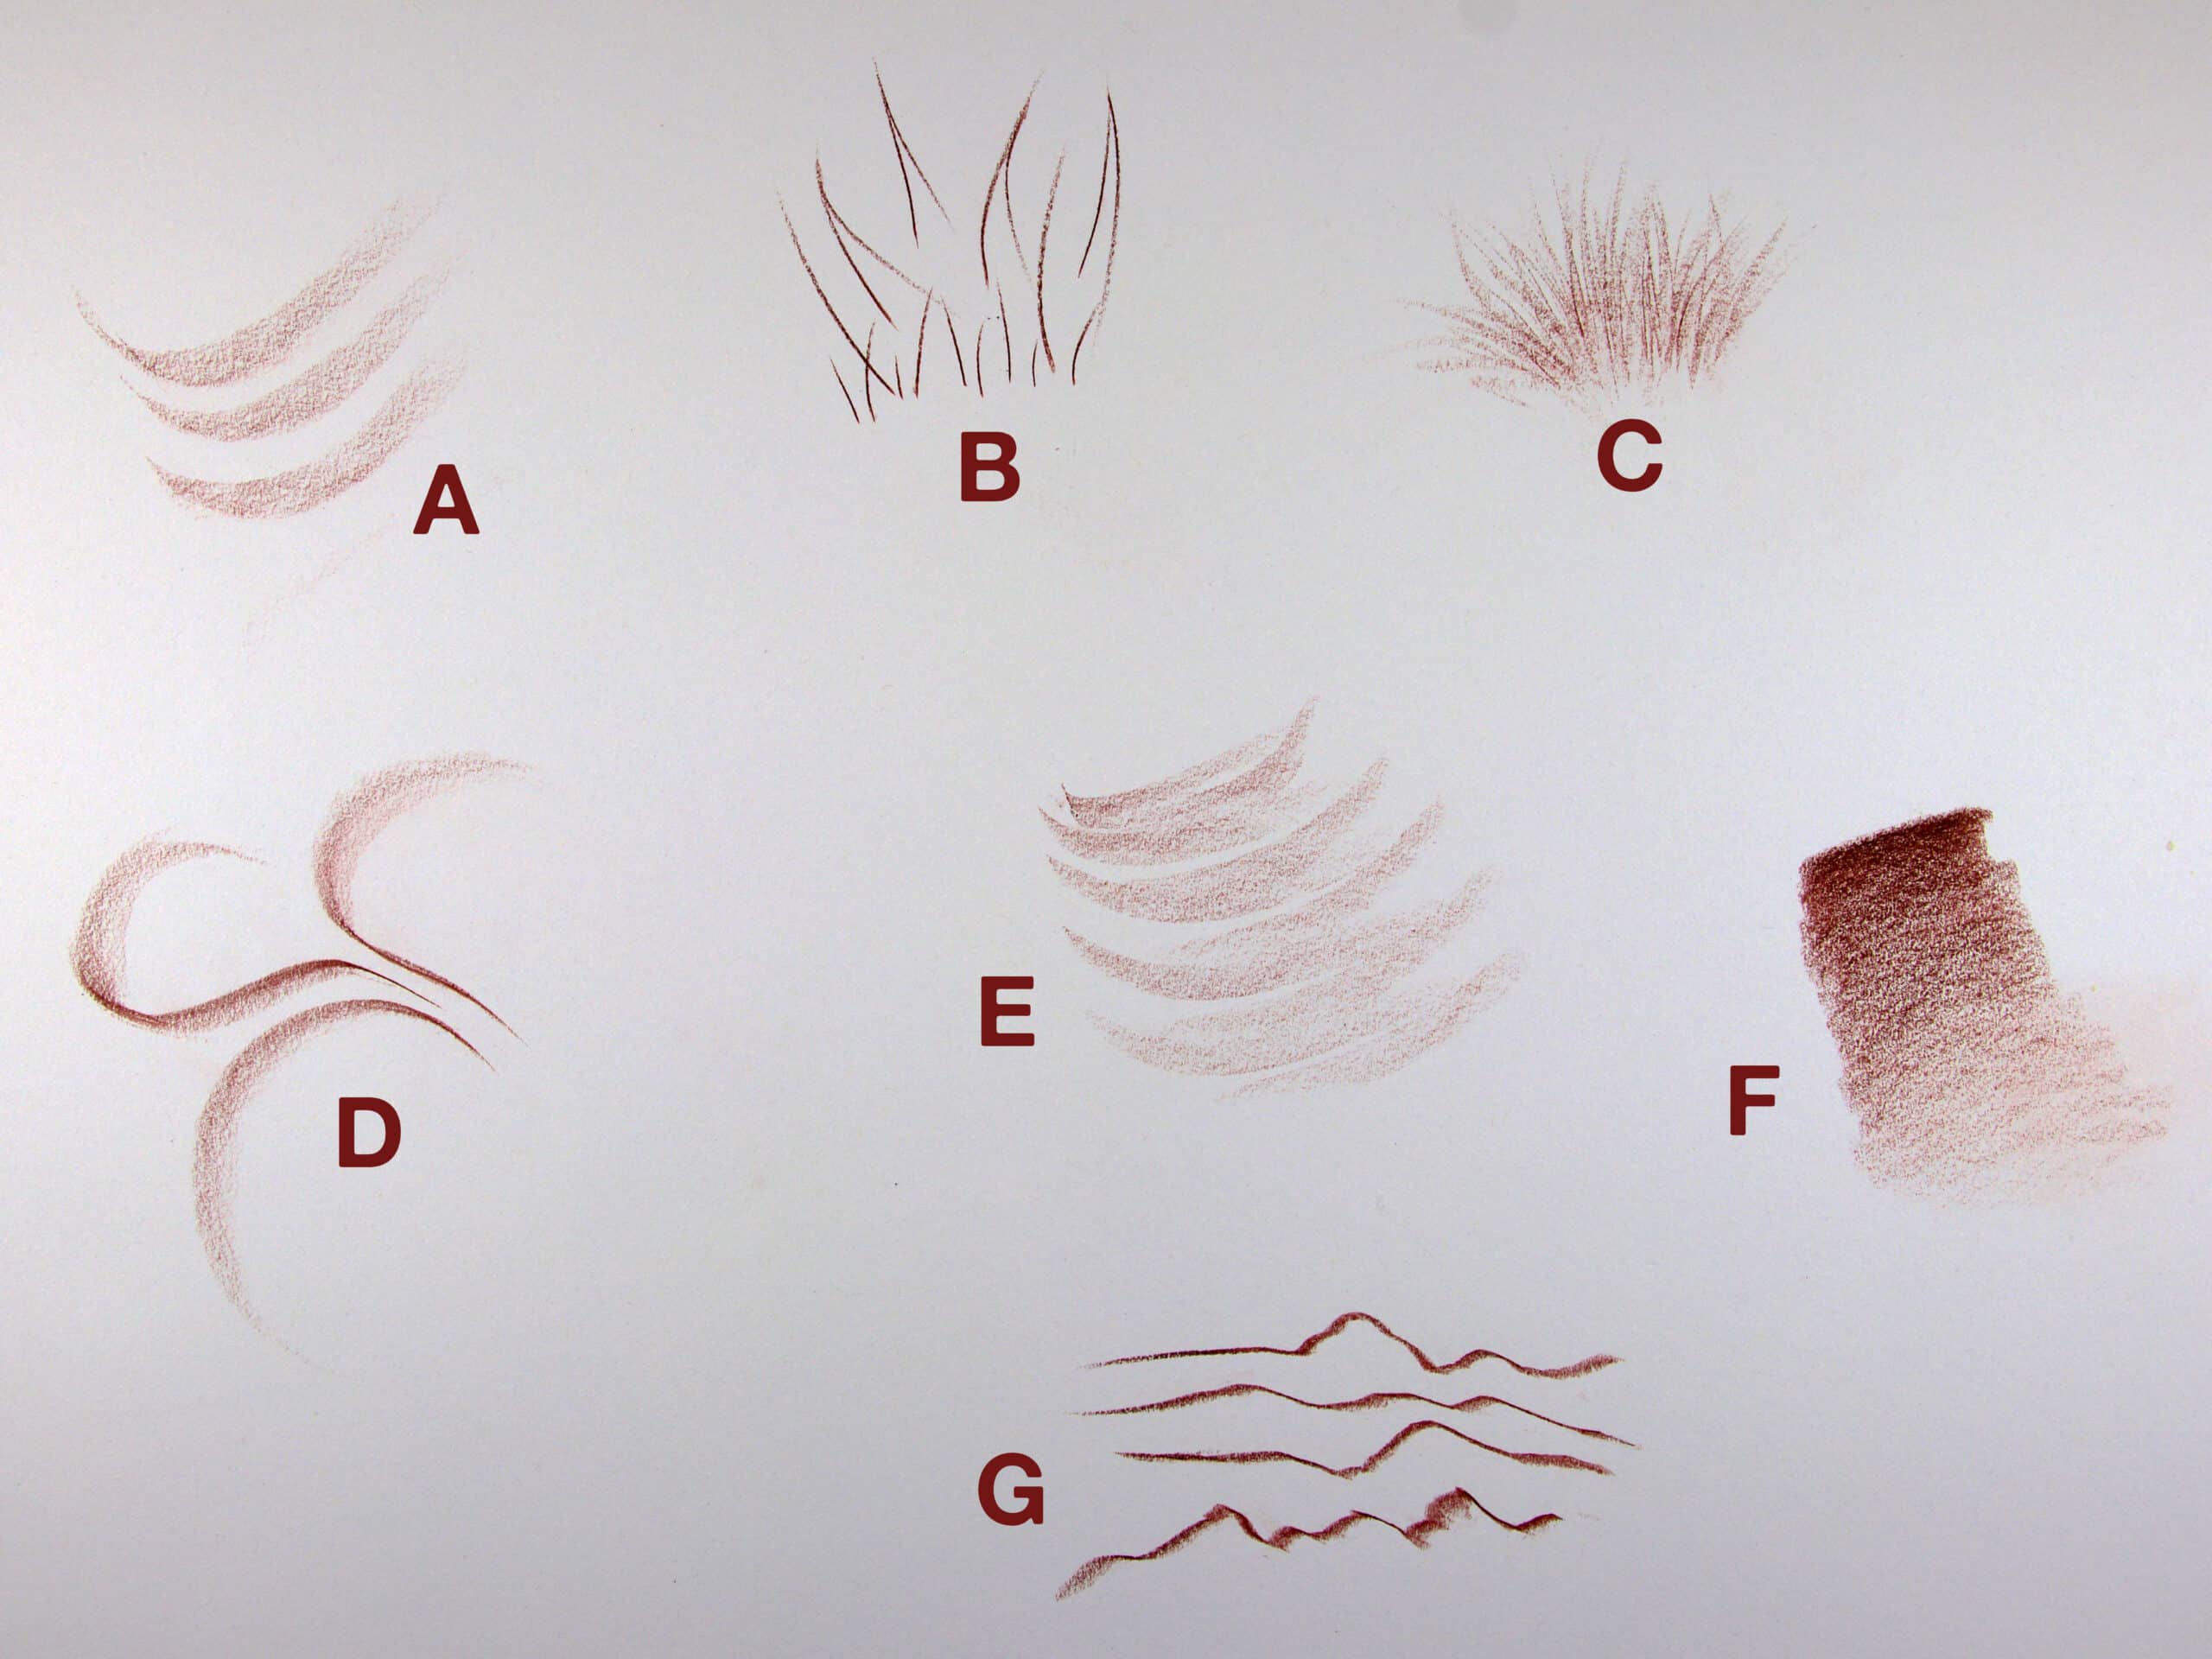
The first set of lines (A) are soft. These lines are made by drawing with the broad side of the pencil lead. In the next set (B) you’ll see sharp lines. I use these kinds of lines to draw thorns or other sharp elements like the tips of some leaves or sticks. Next, you see fuzzy lines (C), then a set of calligraphic lines (D) that start thin before they widen and soften. These are some of my favorite kinds of lines because they seem to dance and flow around the page.
Next, we see curved lines that seem to rock back and forth (E), which are great for describing the curvature of petals. Next, you can see a wash of value (F) that, moves from dark to light. Finally, you see more jagged, hard lines (G), the kinds of lines I use when drawing sticks or stalks. You can find examples of all of these types of lines and marks in the finished drawing we’ll be working with today.
Before attempting to draw flowers, practice making different kinds of lines and marks. Avoid dark and even outlines as they will make your subject look flat and cartoonish.
2. Shapes & Volumes
Some flowers have as few as four petals while others have hundreds in a single blossom. These petals originate from the center of the flower and revolve around it. Before we draw individual petals we need to understand the volume the petals make together.
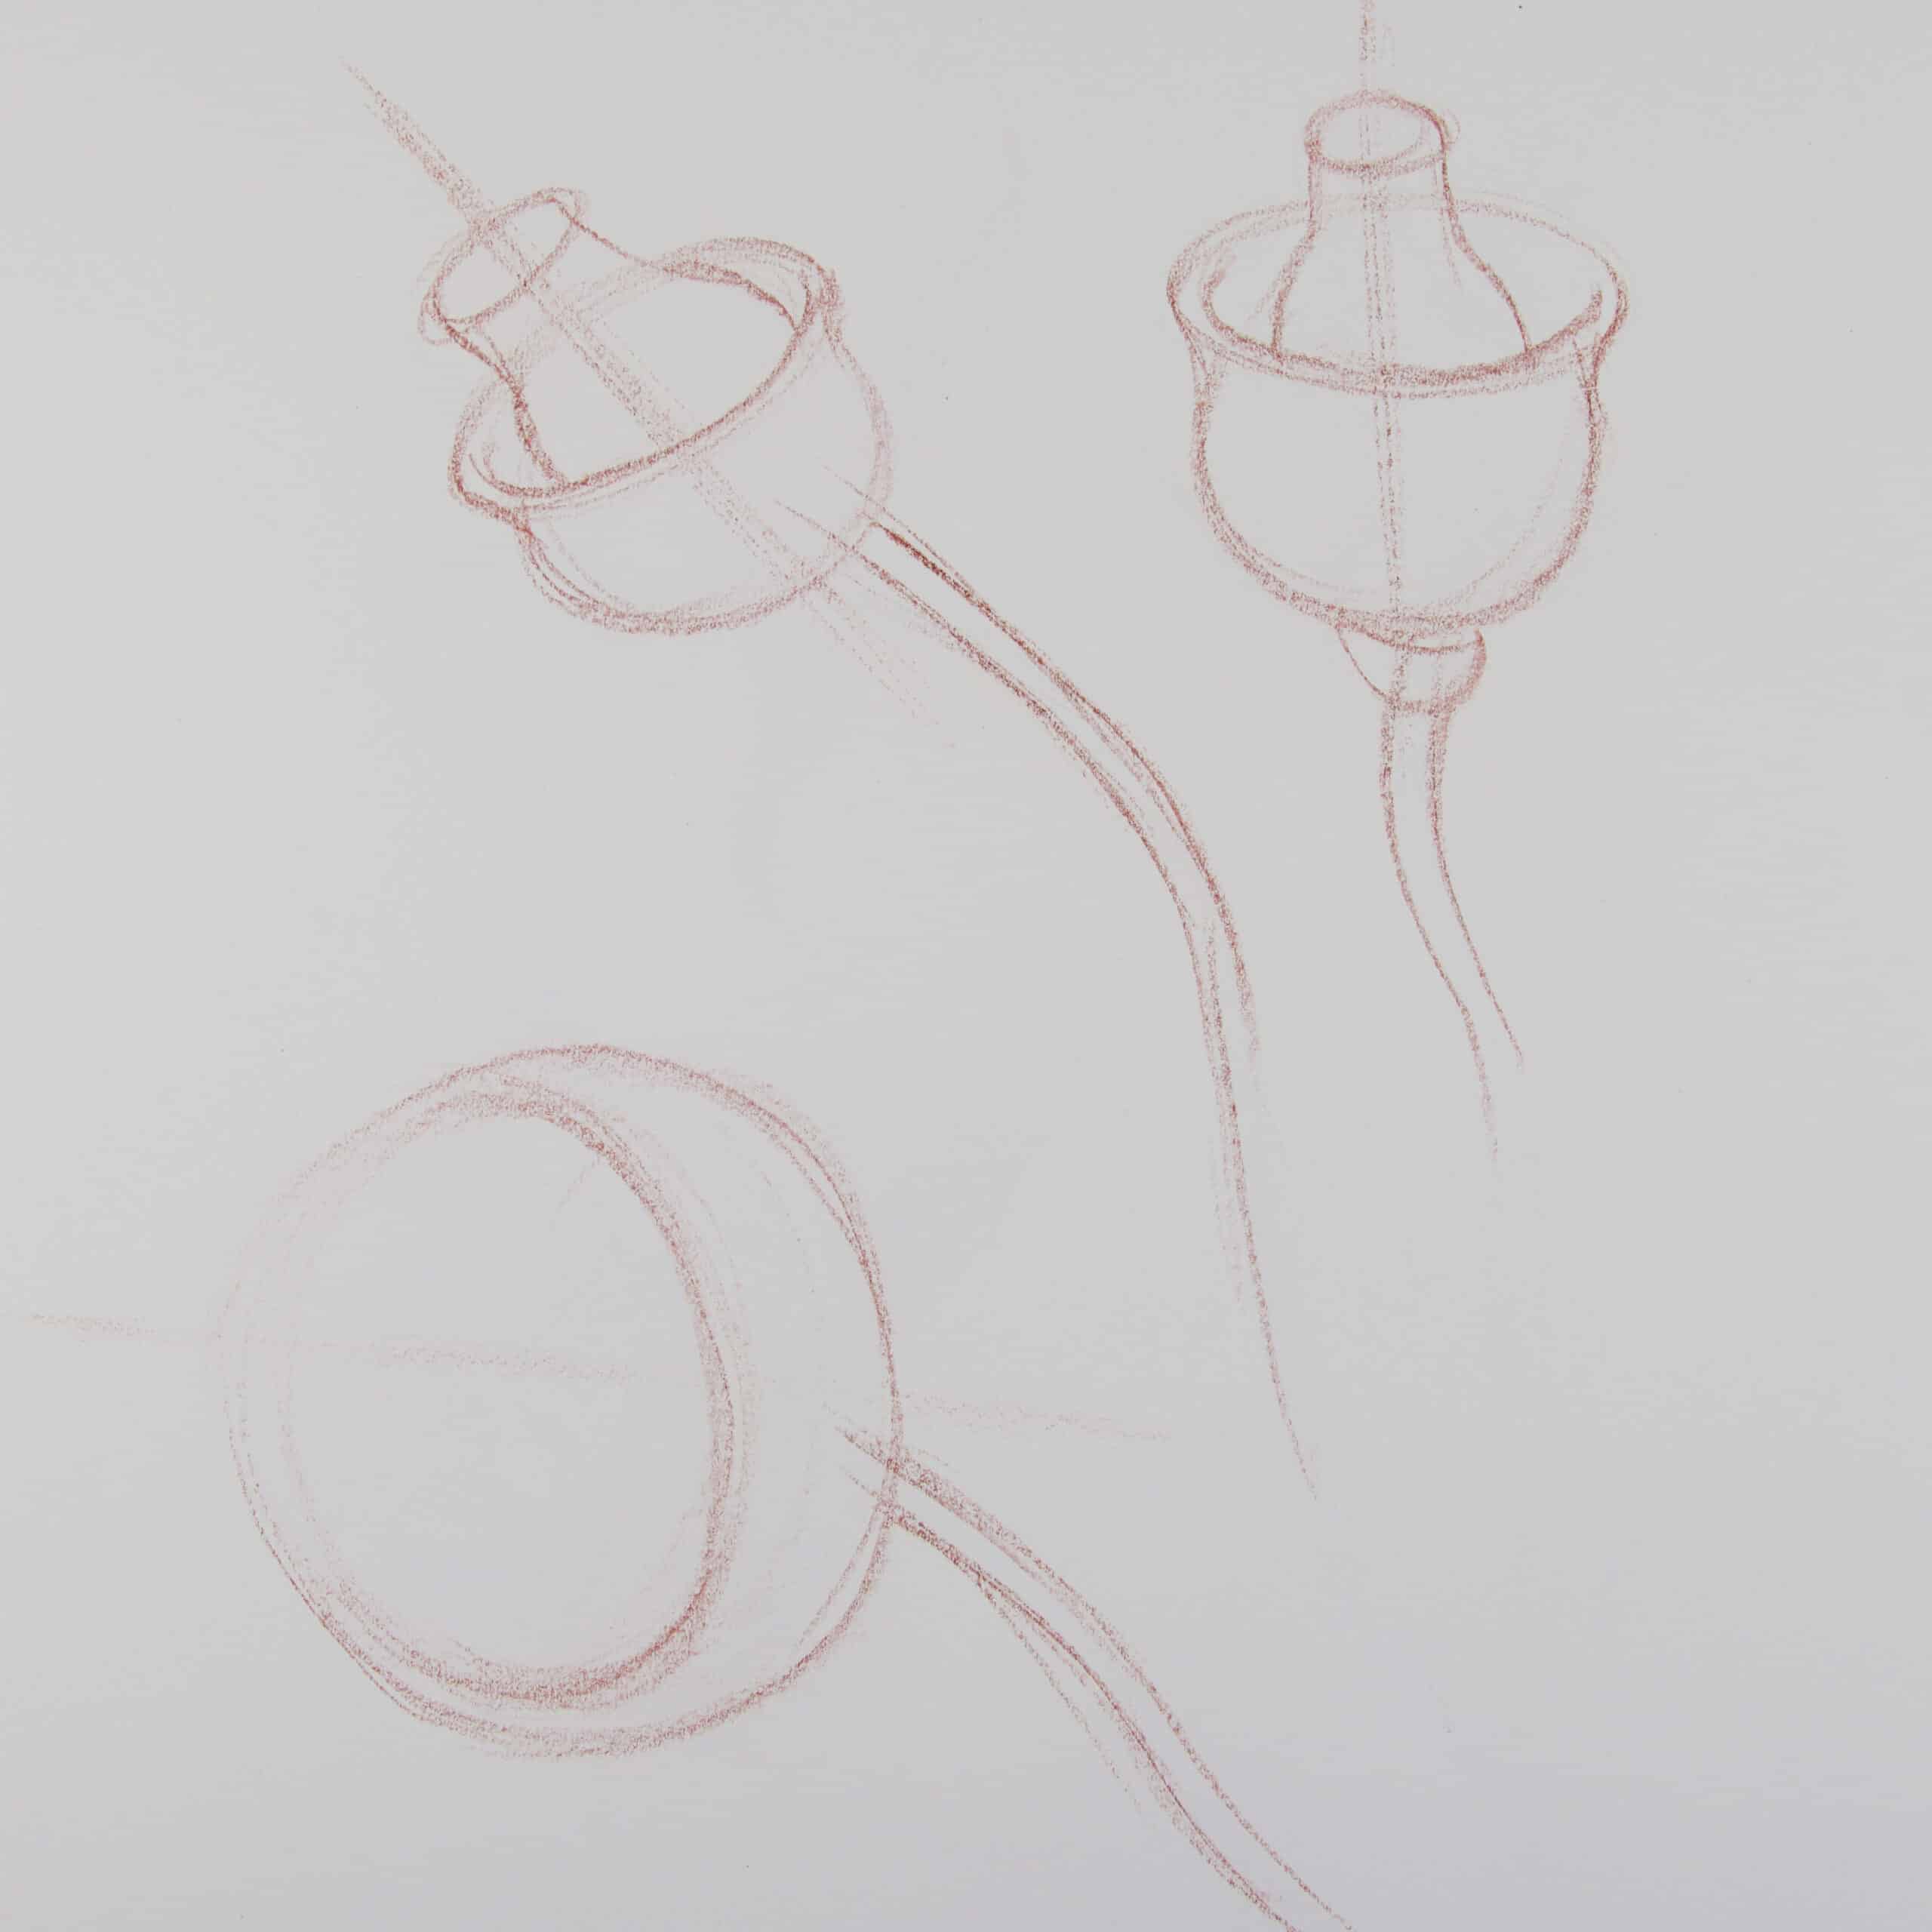
Most flowers will have a cup or bowl-shaped volume. Each volume will have an axis or tilt. The axis can be upright, or more often than not, it will be angled.
The volume of the flower will also tell the viewer how it is oriented in space. Is the opening of the volume coming toward you, or turned away from you? How much?
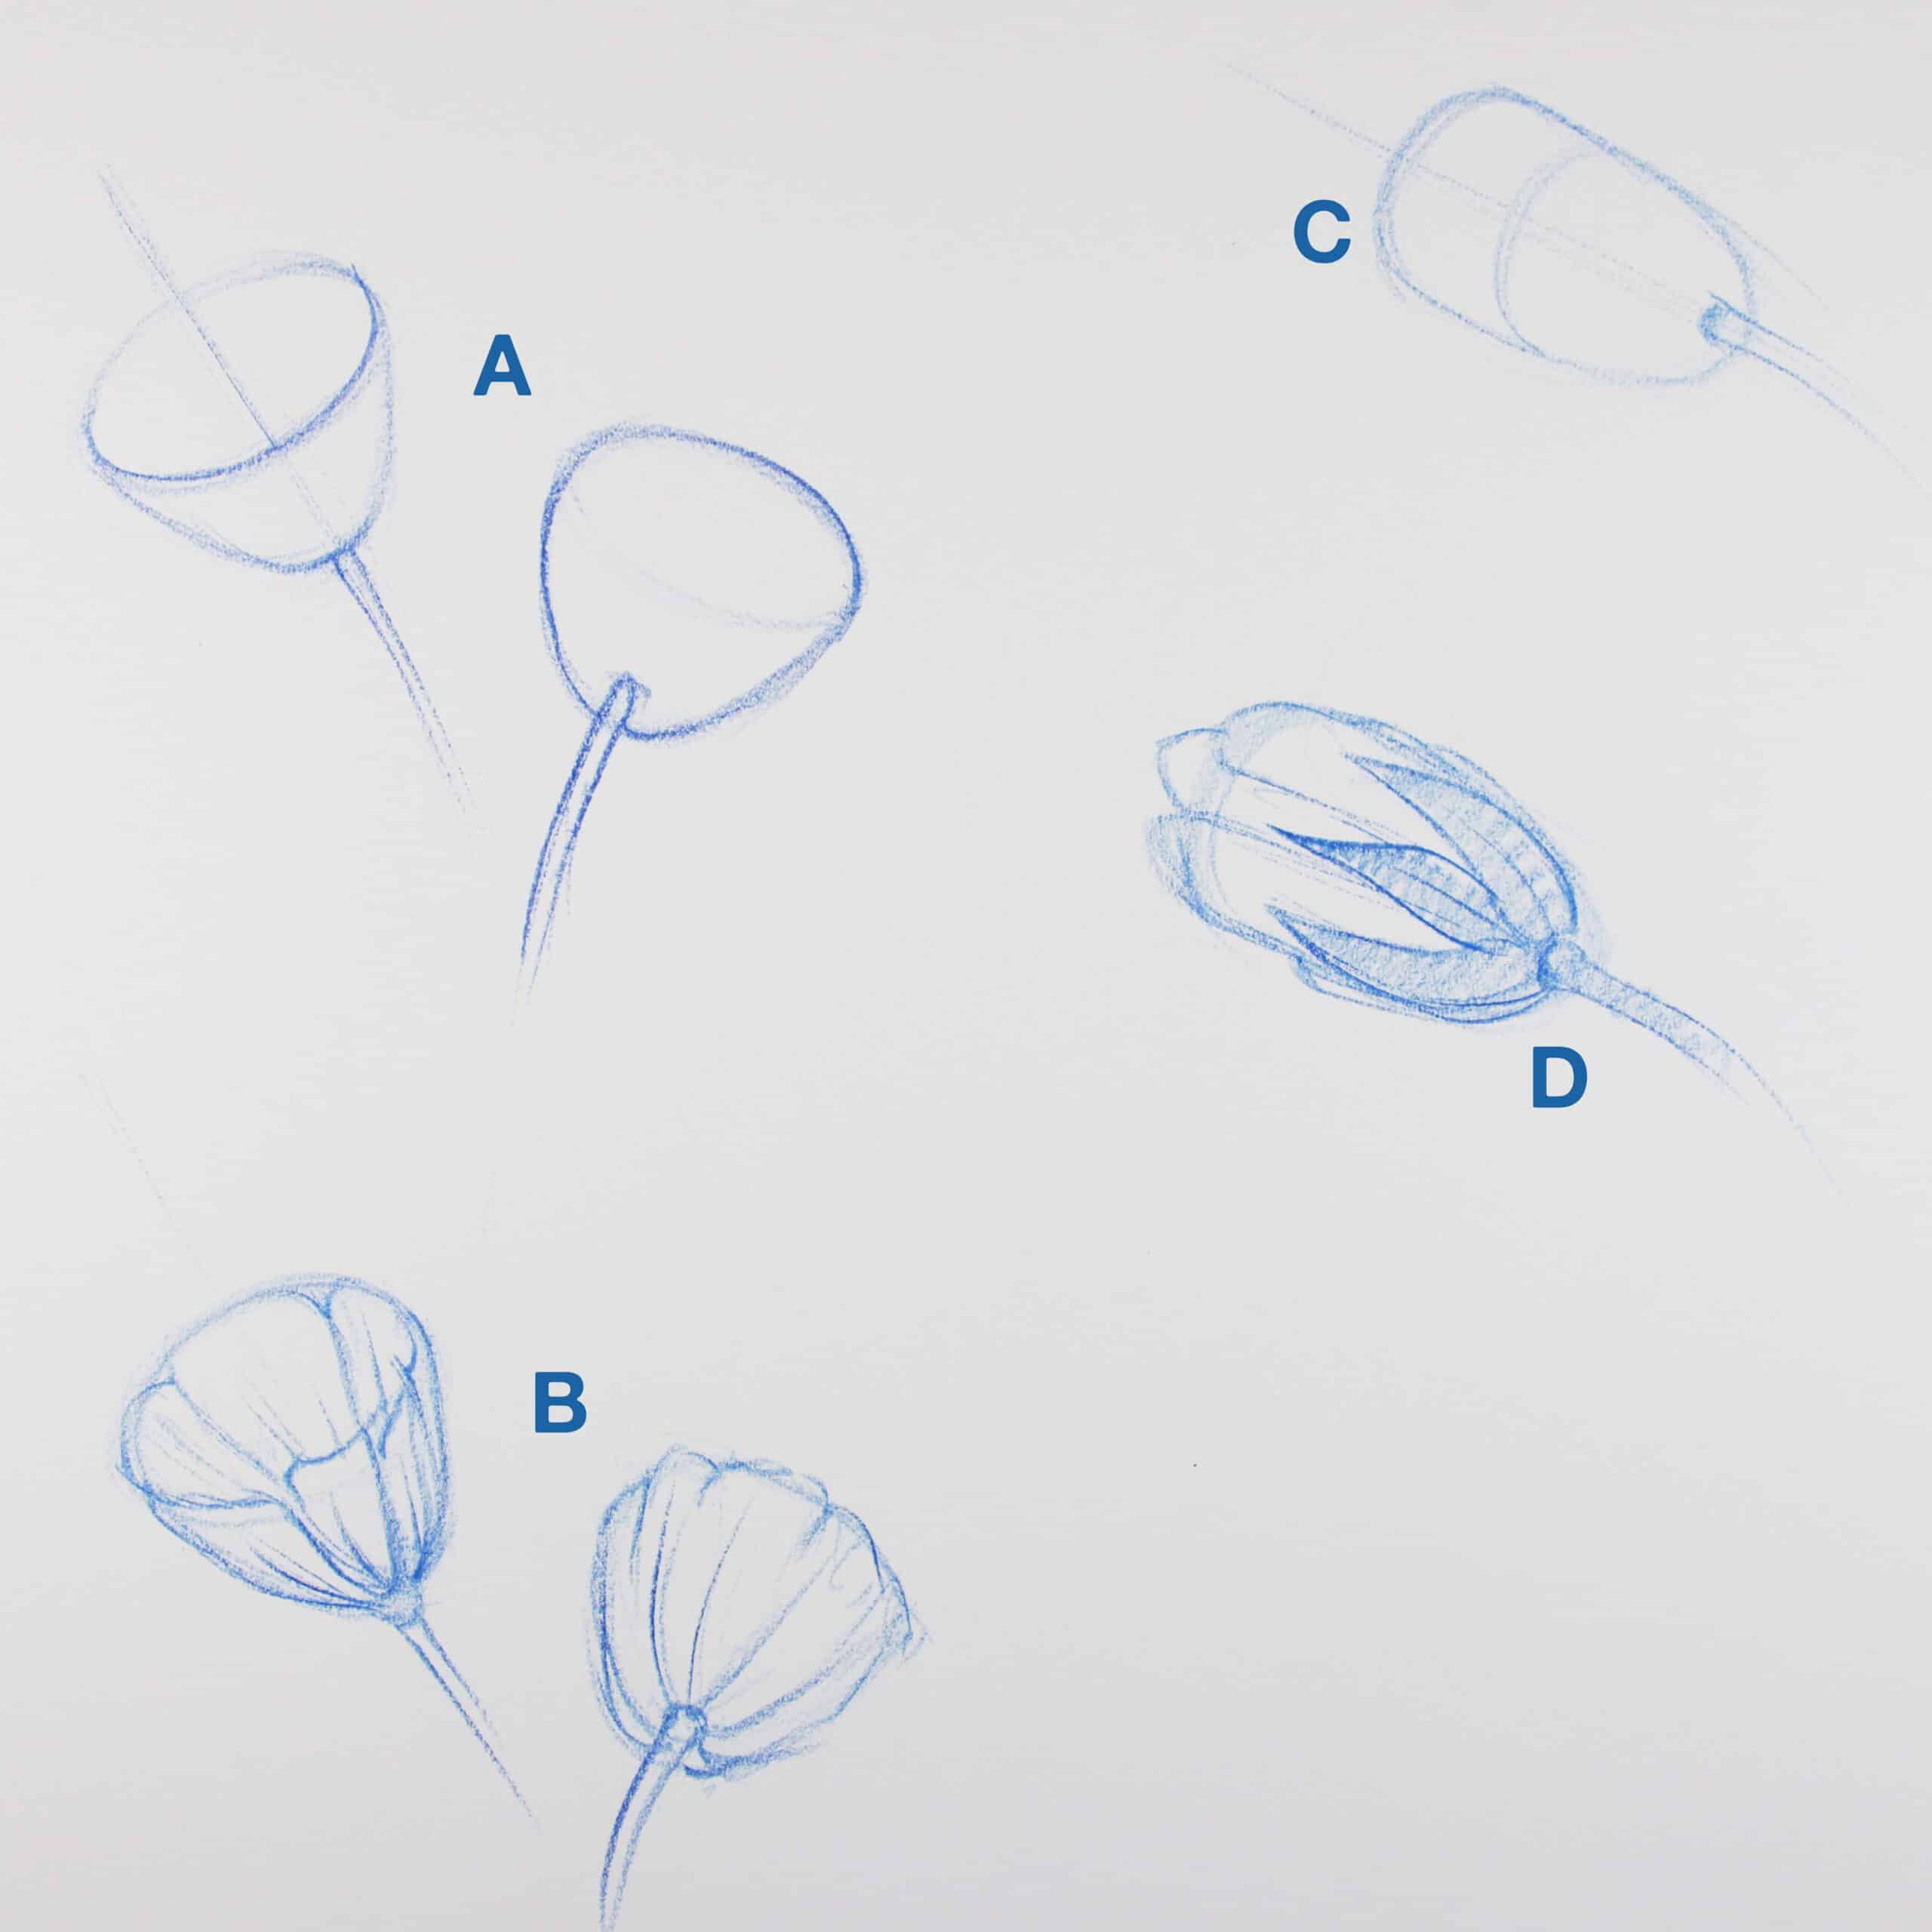
Take a look at drawing A. I simplified these two flowers into cup-shaped volumes. The one of the left is turning more toward us so we can see into the cup. The one on the right is facing away from us so we see the bottom of the cup shape, but not inside of it. The petals in drawing B correspond to the cup-shaped volume established in drawing A.
The volume for the flower in drawing C appears longer and more cylindrical. It is turned away from us so we see the bottom of the flower, not the top. In drawing D, you can see how the petals and leaves are arranged around the basic volume from drawing C.
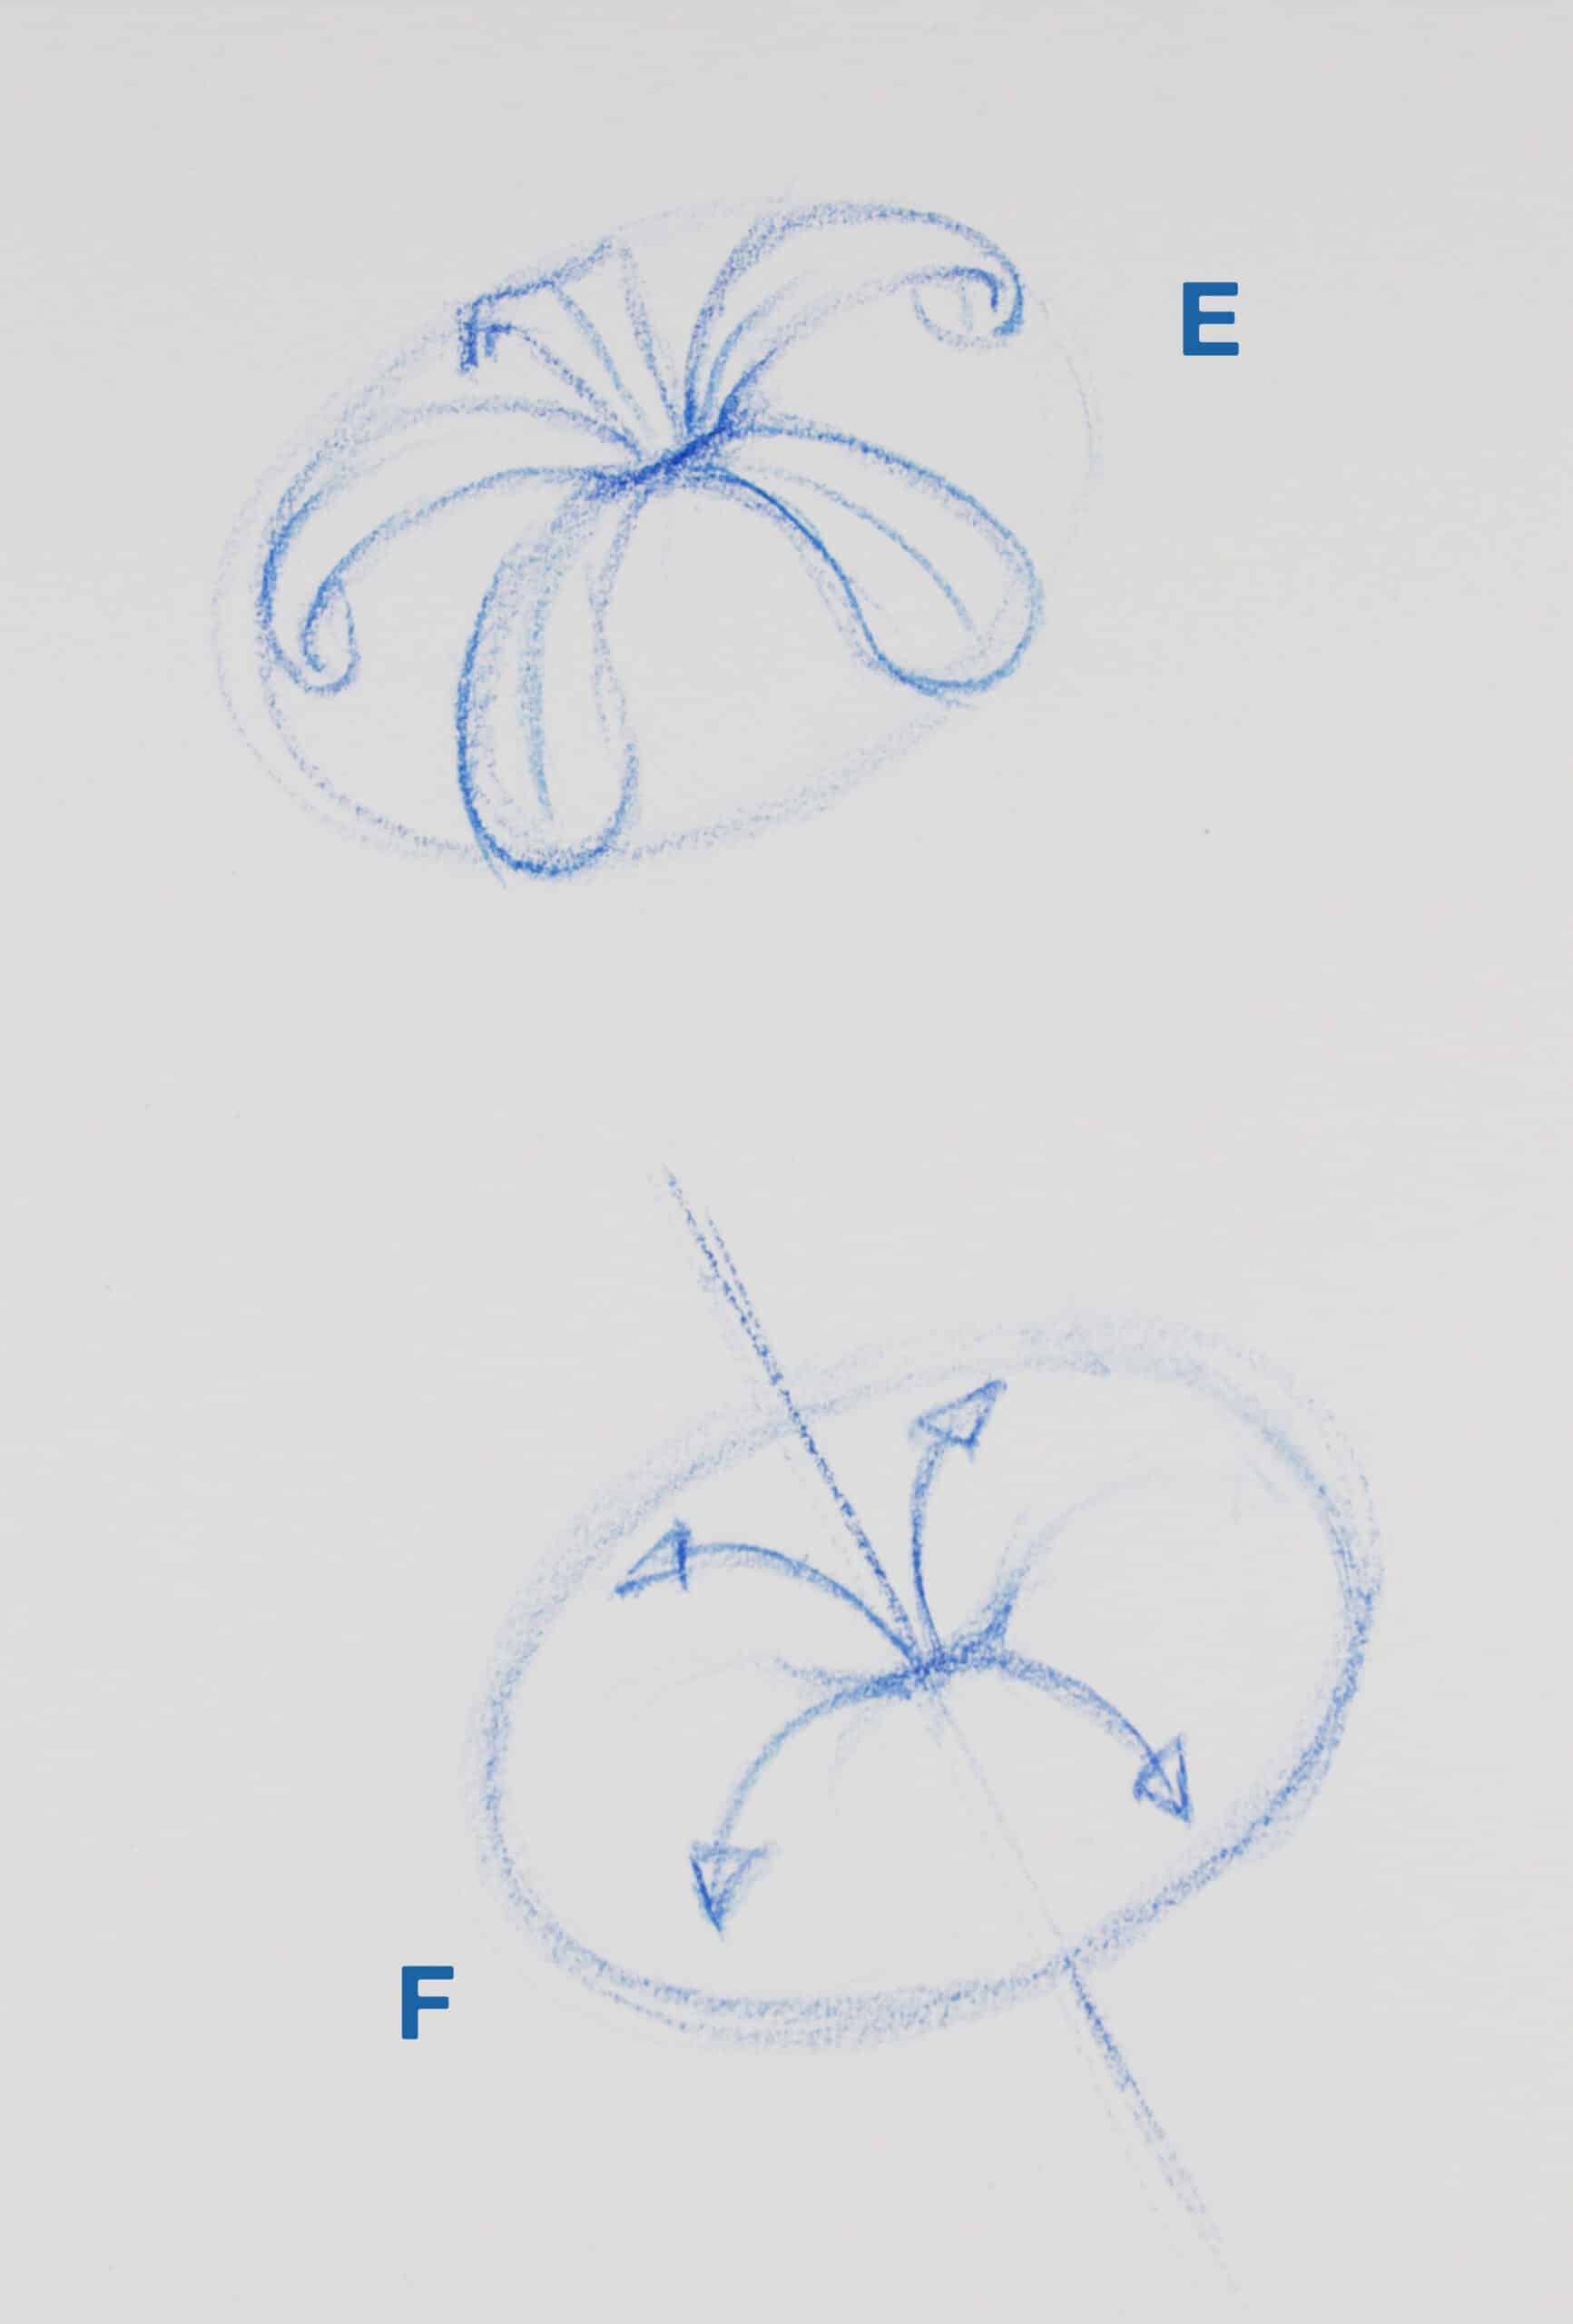
Some flowers have petals that bend outward (E). The volume for this type of flower is a torus or doughnut shape shown in drawing F.
3. Leaves and Petals in Perspective
Once you’ve determined the volume of your flower you can begin drawing individual petals. To do this, we need to understand how petals and leaves operate in perspective.
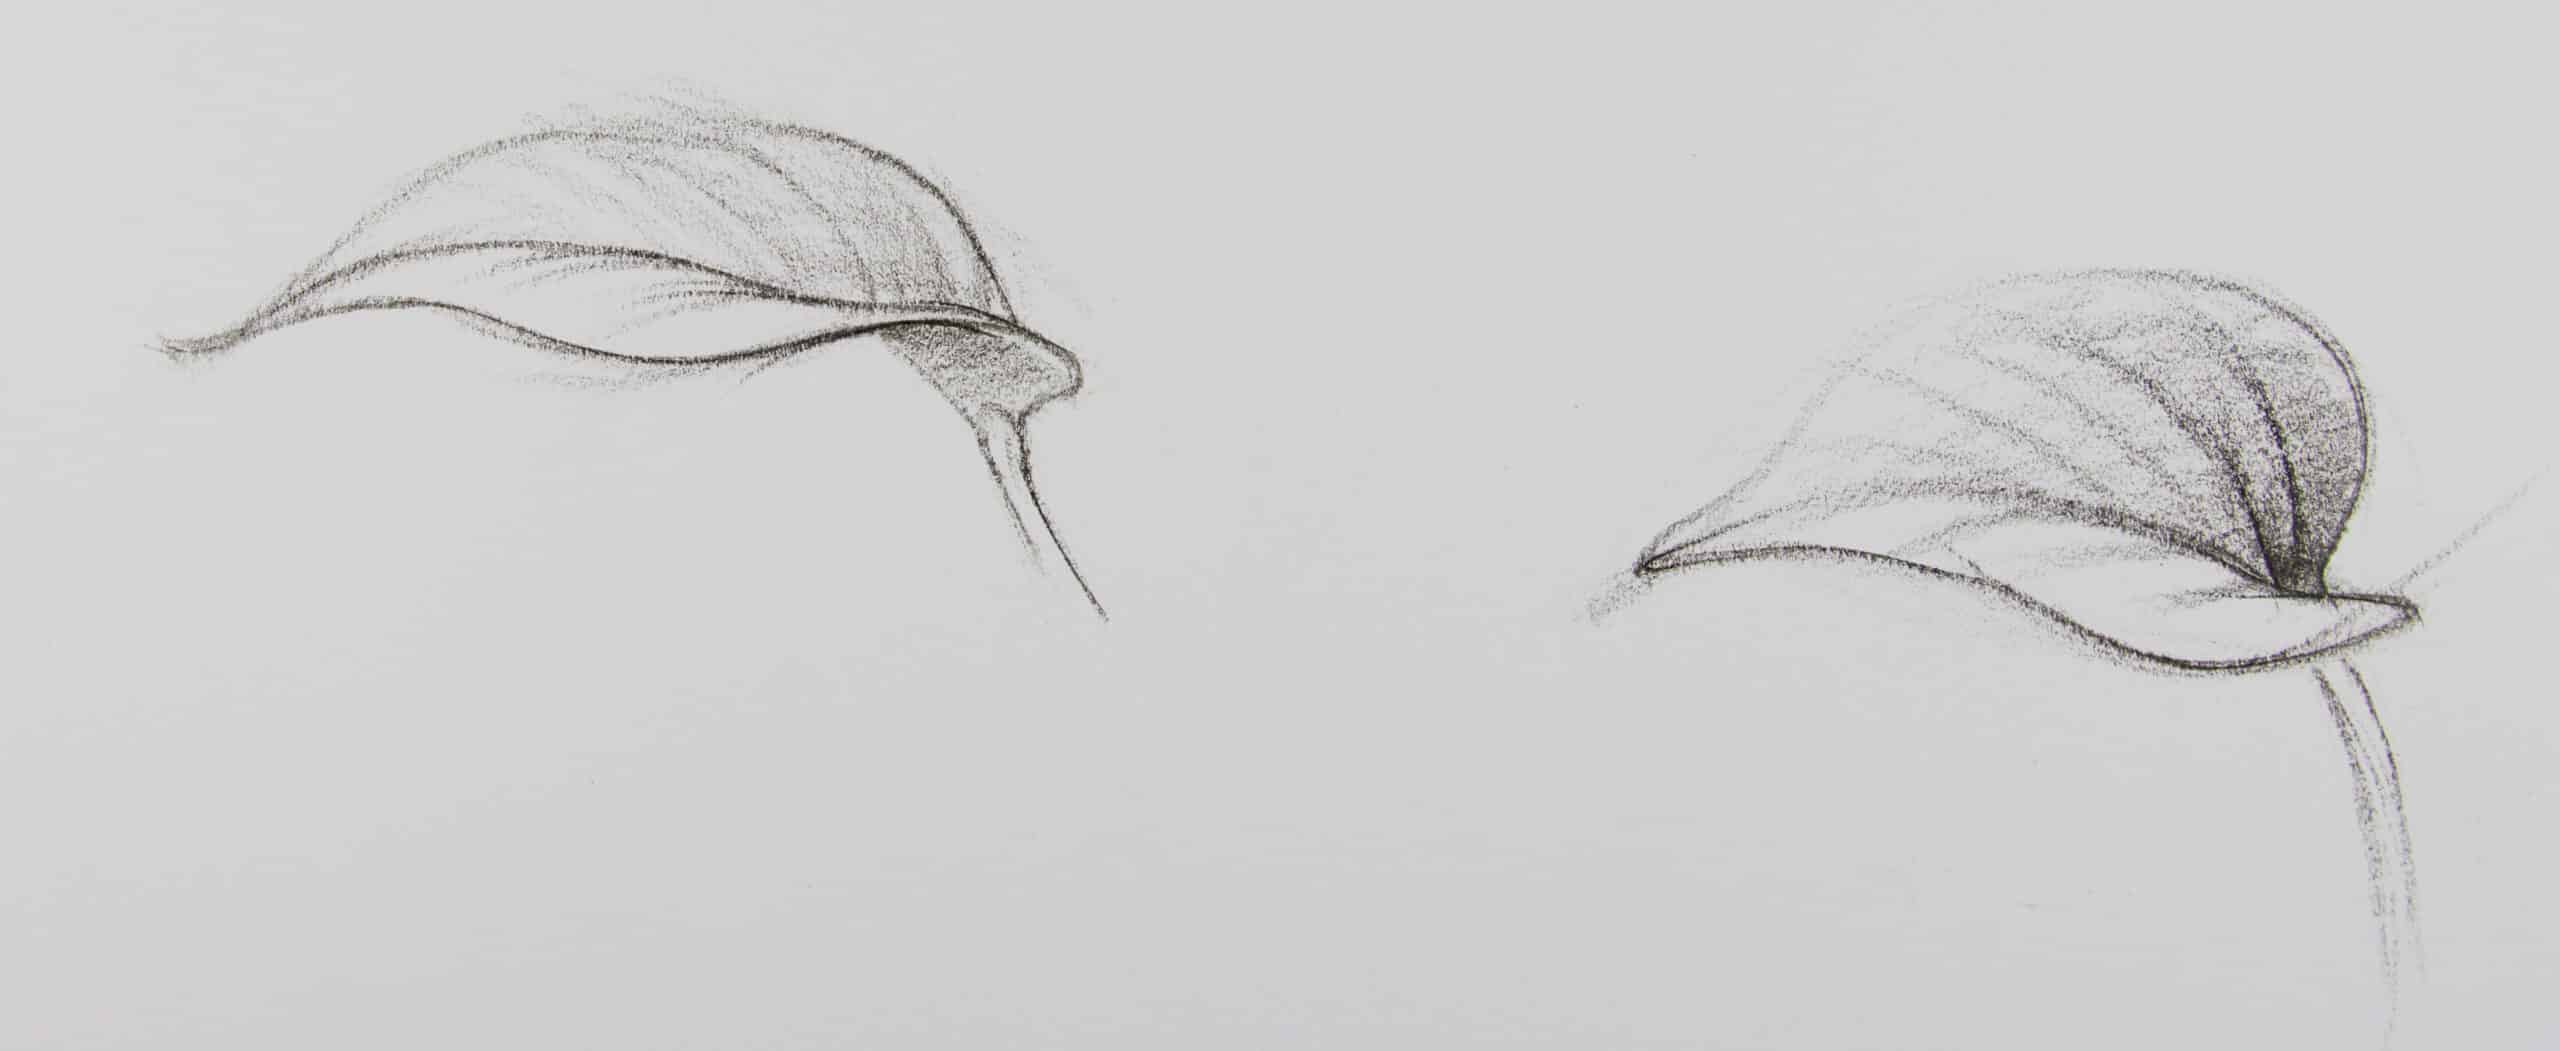
Leaves and petals are not simple flat shapes. They curl and curve through space. Leaves and petals also have a thickness to them. Take a look at the two petals in the drawing below. They have a thickness at their opening similar to the rim of a cup. notice how they seem to curl.
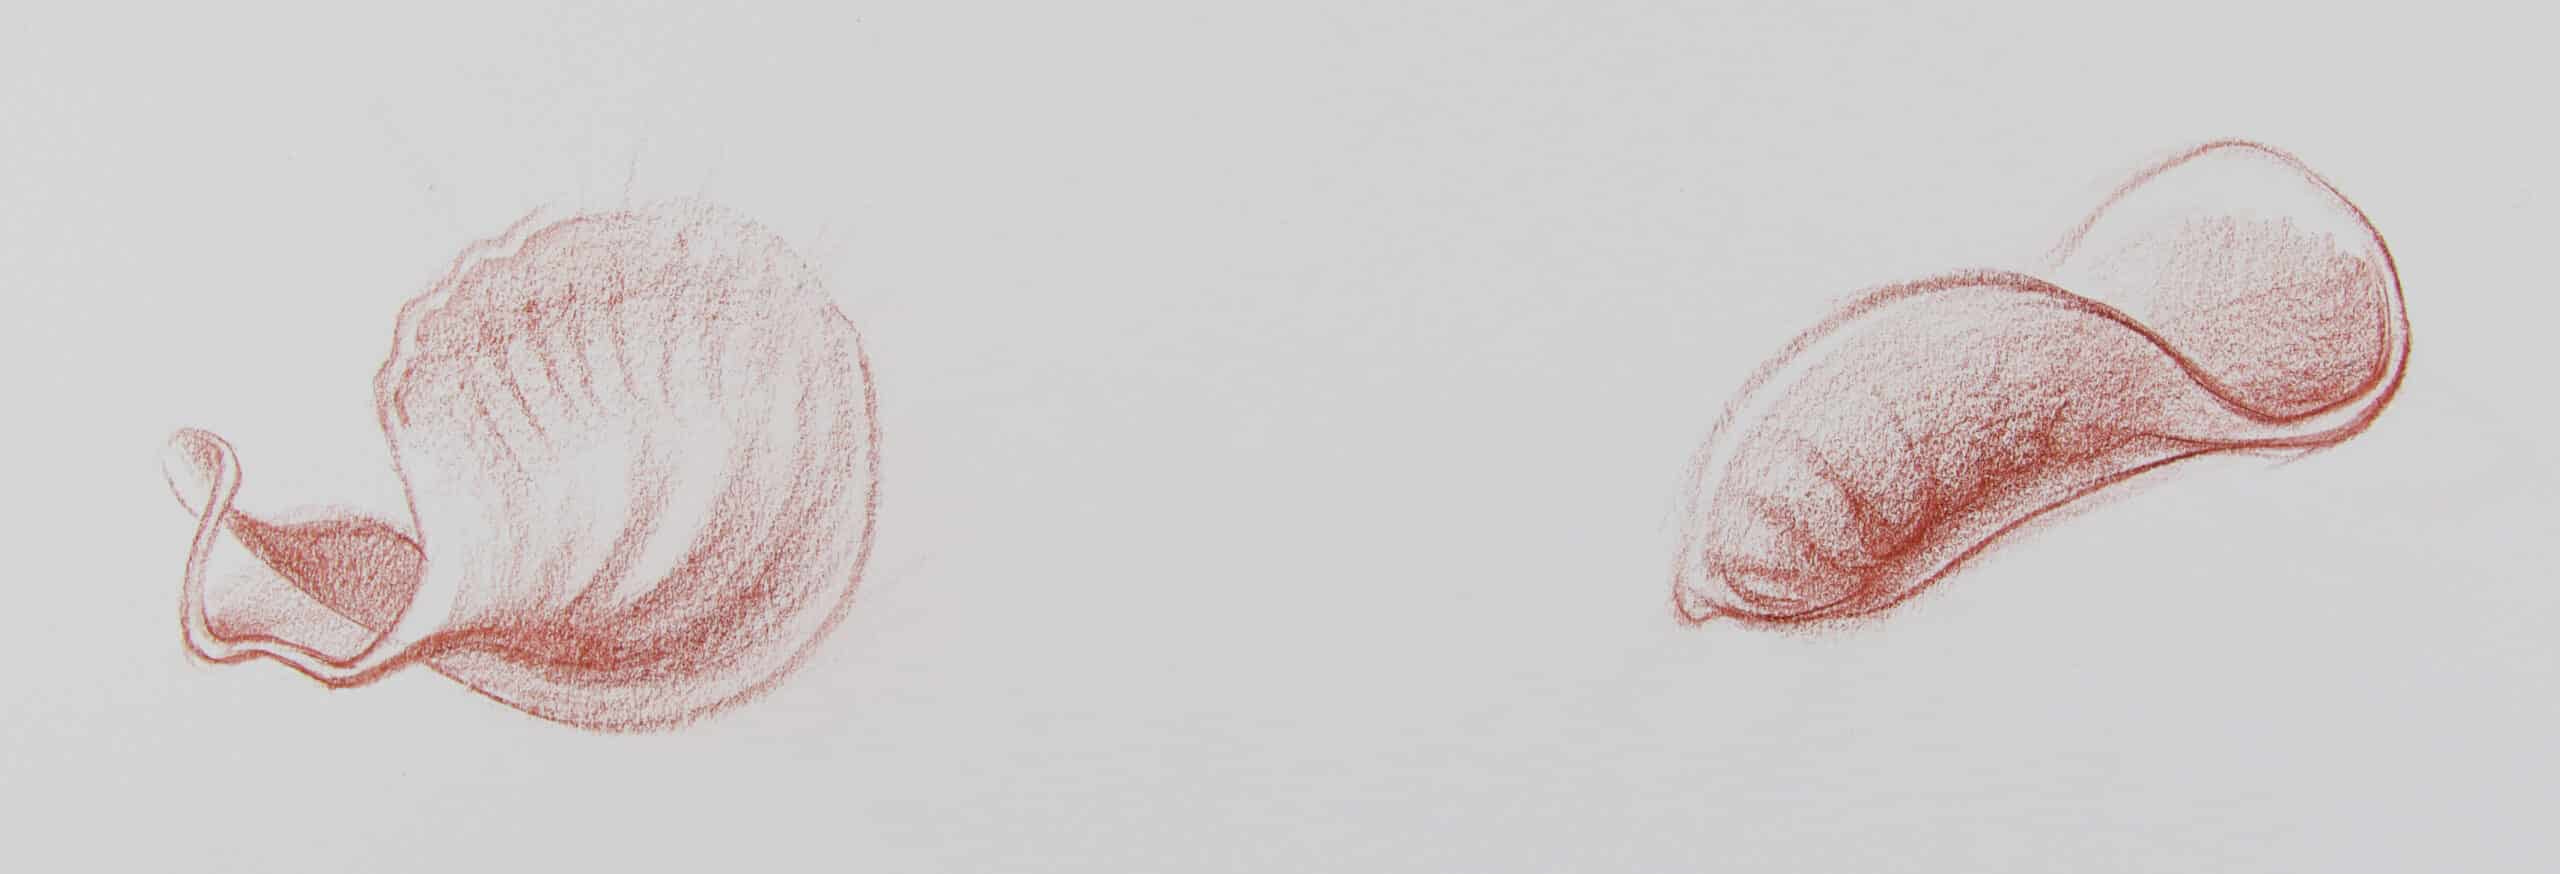
Leaves also have a thickness as you can see in this next drawing. Leaves curve through space very differently than petals. Drawing individual petals and leaves will prepare you for more finished drawings.
Now let’s learn how to bring these ideas together in a completed drawing.
How to Draw Flowers & Other Botanicals Step by Step
Step One
As you draw the simple shapes and volumes of the flower, make sure they are proportional to one another. Draw these initial strokes lightly as they’re simply meant to serve as a foundation for the darker lines to come.
You’ll notice that the two flowers at the top of this drawing each appear to have two volumes, one inside another. There’s the larger, outer volume shaped like a bowl with a flared rim. Then the smaller volume inside of the bowl grows smaller toward the top.
The flower on the bottom left appears to have only one volume. Even though they are the same type of flowers, their volumes appear different. This kind of variation is common with natural forms.
Step Two

Lightly draw the petals and leaves. Pay particular attention to how they twist and move through space. The individual petals of the flower should maintain the larger volumes you drew in Step One. Once again, this step is made with light strokes. We’ll draw darker lines in the next step.
Step Three
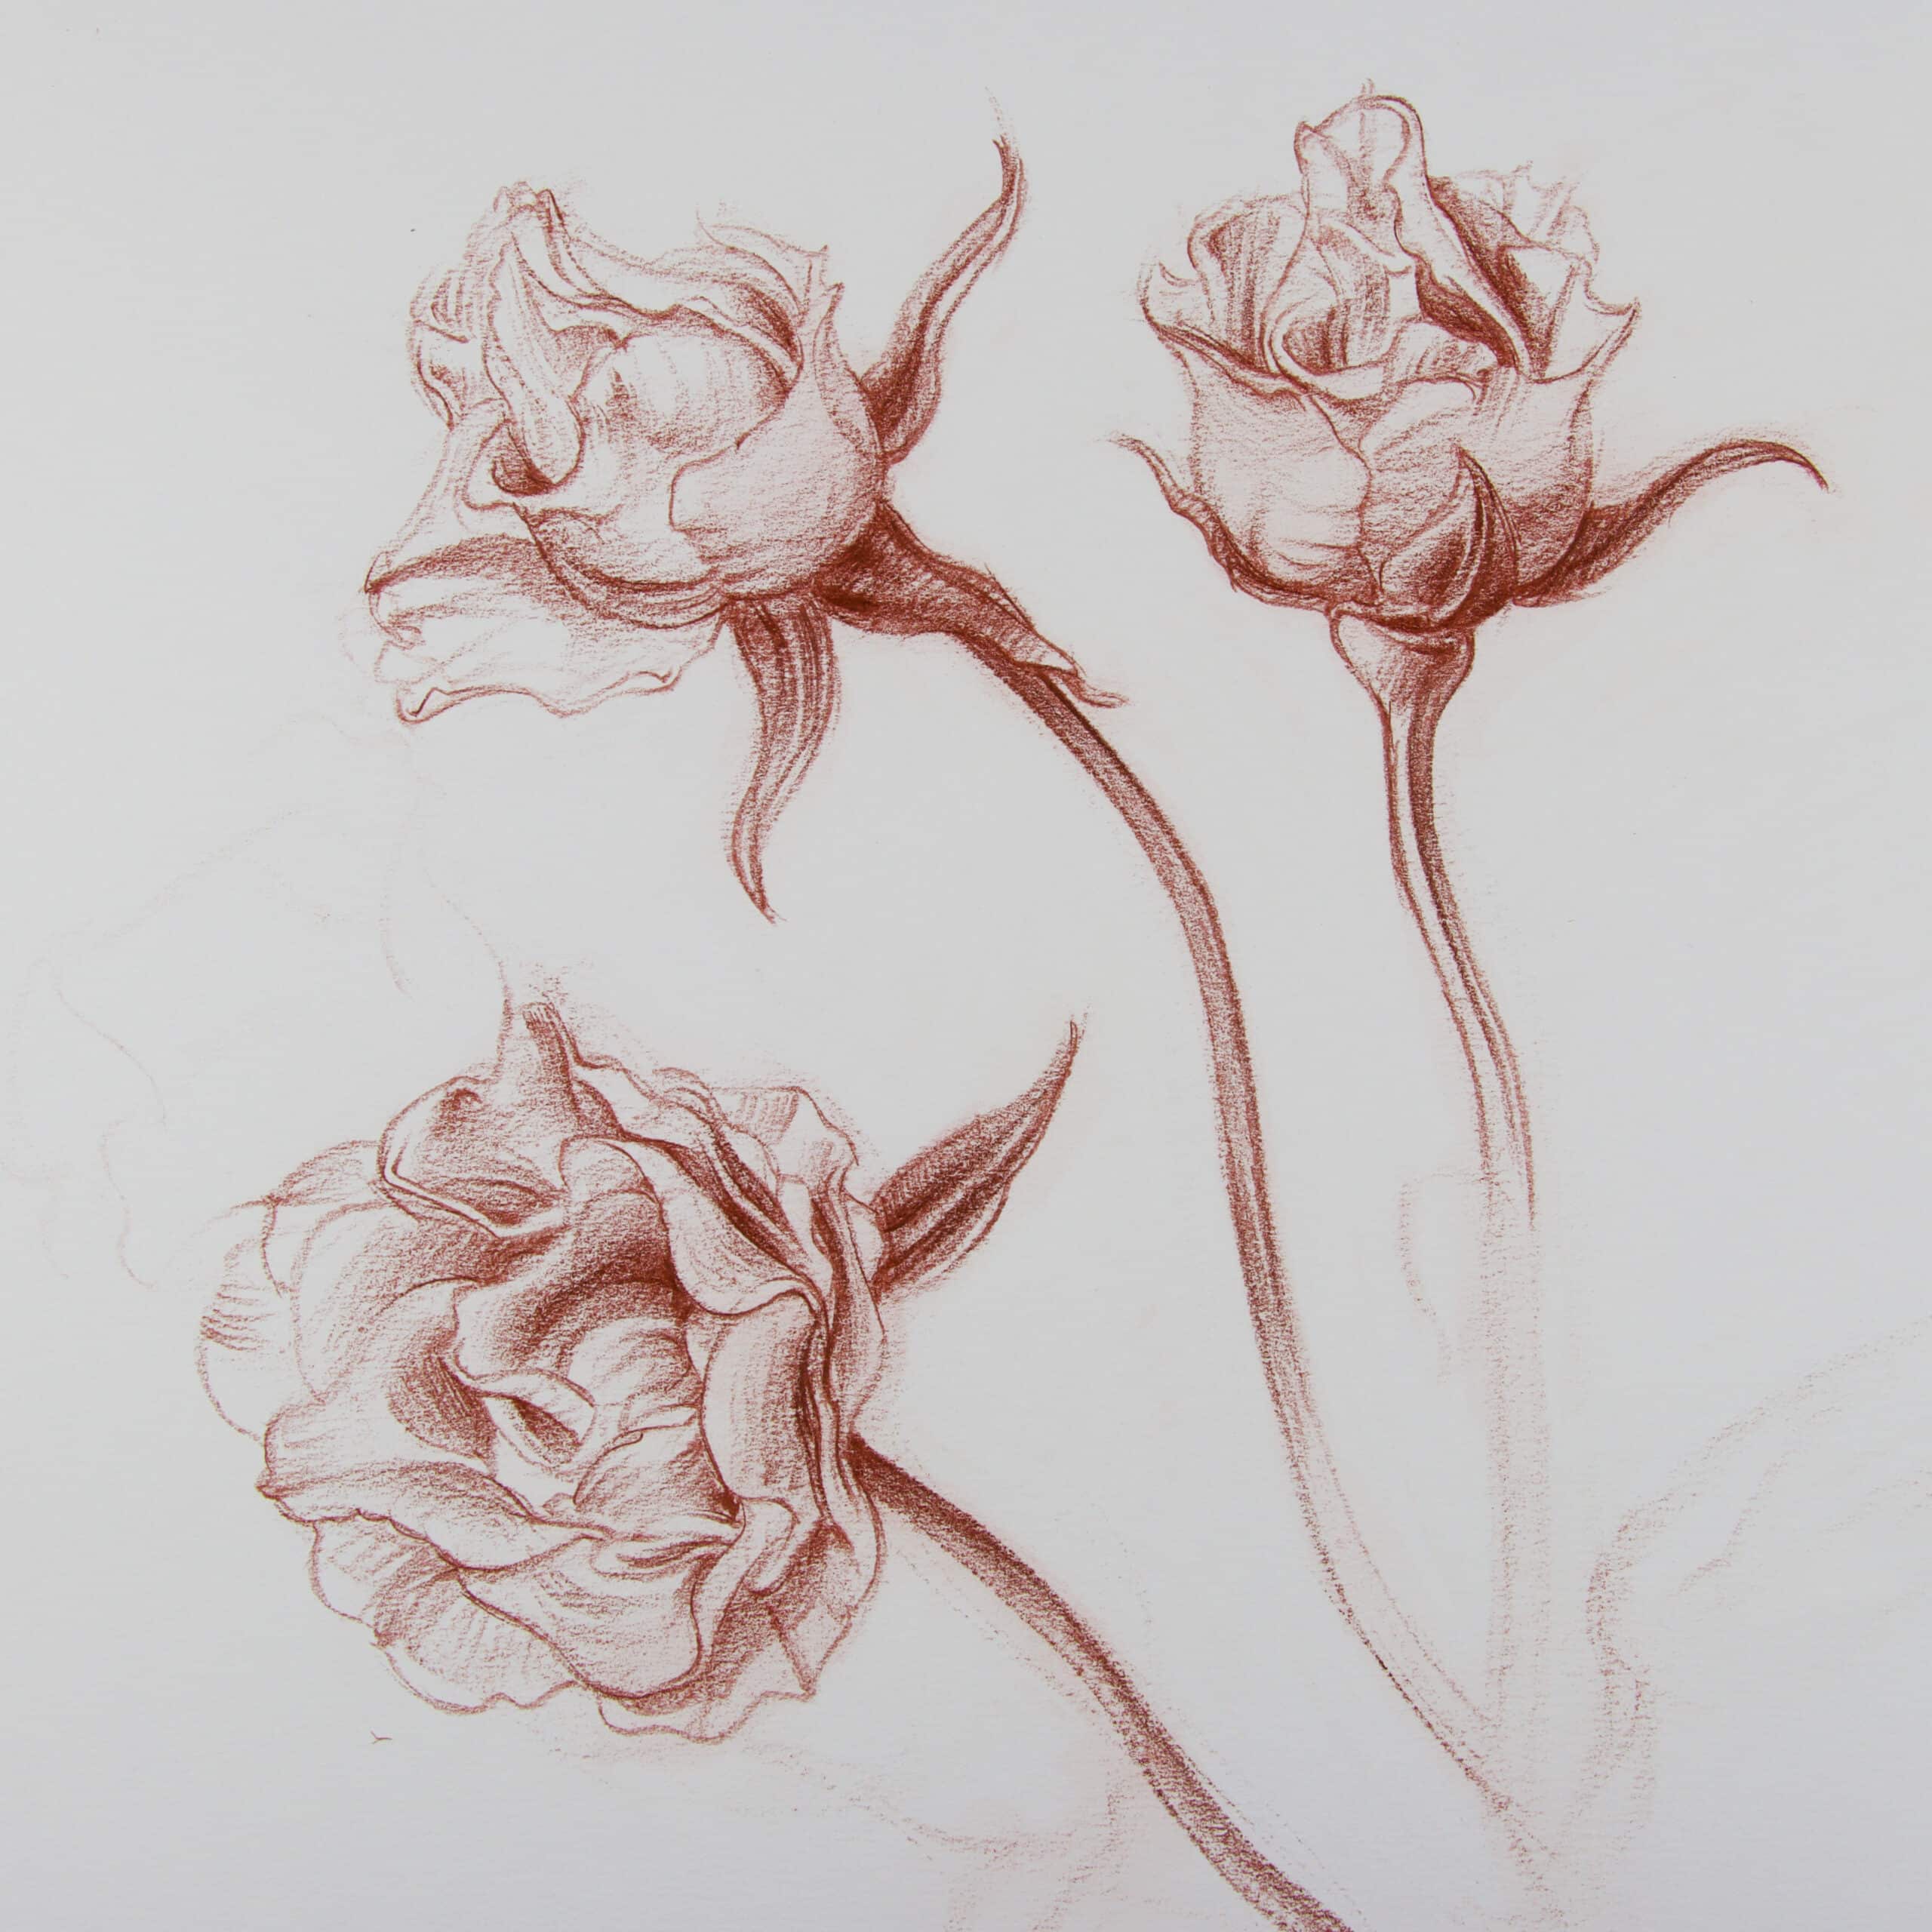
Use a variety of lines and marks to give the viewer tactile sensations. Pay attention to where the light is coming from. In this drawing, the light comes from the left so the left sides of the flowers are lighter than the right sides. Notice how many different kinds of lines and marks you can find in this drawing. We want to avoid dark, even outlines. They tend to flatten drawings and make them look cartoonish.
There is no single right or wrong way to draw flowers or any other subject. As with any skill, drawing flowers requires patience and practice. Don’t expect your first drawings to come out perfect. With practice, you’ll be able to use the tools and techniques you’ve learned here to draw any flower.
