Article Summary
Learning how to draw a skull starts with breaking complex forms into simple 3D shapes. This article walks through six steps: building structure, rough sketching proportions, refining lines, and adding line weights. You'll finish with a complete, confident skull drawing you can apply to any skeletal anatomy.
Learning how to draw a skull, especially from many angles, is crucial in character drawing. This tutorial will look at how to draw a skull at a three-quarter angle and the mindset and steps involved. Before starting, be sure to get a reference image or photo of a skull. You can find these with a quick Google search. There are many 3D model anatomy apps that you can use as a reference, too.
Step 1: Basic skull structure

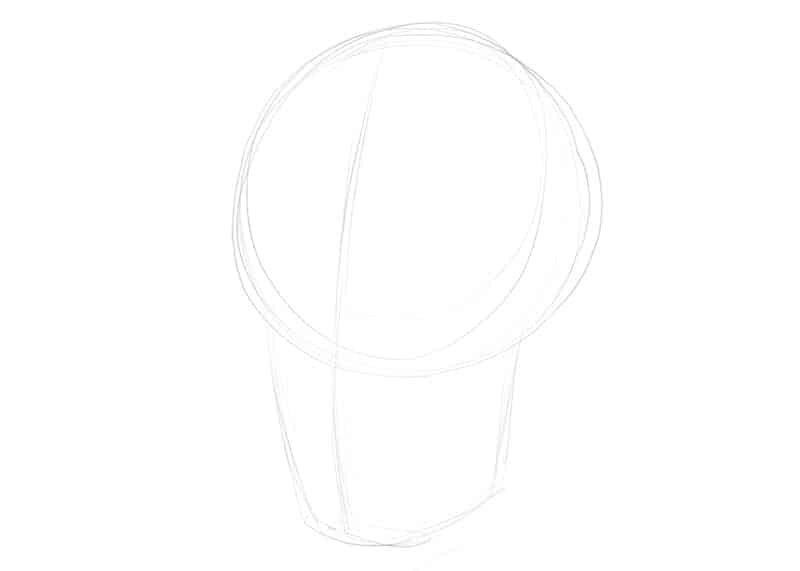
Start your skull drawing by breaking down the skull from your reference image into two 3D forms. Work roughly first, then clean it up later. Draw a sphere for the cranium and attach a simple box-like 3D form below it. Imagine you are drawing wires in this stage and building the 3D shape out of these wires. You can use vertical lines or center lines to better envision the 3D nature of these forms.
Recommended Udemy course

Step 2: Light erasing
Once you have the forms down, use a kneaded or soft-edged eraser for light erasing. If you’re working with a digital image, lighten the basic structure.
Step 3: Rough drawing

Use your reference to do a rough drawing. Make sure you are getting the proportions correct. You should also ensure that you’re sketching out the skull’s significant parts. Proportions are the size, spacing, and location relationships between different shapes and forms. Place the basic shapes for the eye sockets, nasal cavity, and teeth. Focus on clarity here, not neatness — you’ll get to that later. The more accuracy you can achieve, the better, but do keep it simple. Don’t draw too slowly, or your lines will lack dynamism and energy, and the rough drawing will look stiff.
Top courses in Drawing


Step 4: Light erasing

Once again, you’ll erase and make this rough drawing lighter. That way, you can draw on top of it more neatly this time as you move to the clean-up stage.
Step 5: Cleaning up your sketch

Neaten the drawing using loose strokes. You’re striving for cleaner lines while going over the previous rough sketch. Make any adjustments necessary to improve the accuracy and proportions of the skull. Once again, reference is essential as a guide. Also, feel free to add some shading using parallel lines (hatching).
Recommended Udemy courses


Step 6: Adding line weights to your skull drawing

Once the cleaned-up version of your skull is complete, it’s time to add some line weights. These are areas where you thicken some lines or thin others. That way, you can emphasize overlapping shapes and forms in the image. Try to make sure that the overlaps are exact. Now, your skull drawing is complete!
This tutorial is a great basic drawing workflow for drawing a skull. You can also use these steps for any other skeletal anatomy. Your next steps should be gathering more references for skulls. Pick references at various angles and follow the same process for sketching them out.