
Article Summary
The burn tool in Photoshop darkens specific areas of an image, working alongside the dodge and sponge tools to give you precise tonal control. This article covers how the tool works, when to use it, and two hands-on examples. You'll gain the confidence to darken, isolate, and enhance images effectively.
 Photoshop is full of goodies for graphic designers, photographers and others who want to design their own images. The fully equipped toolbar gives ultimate functionality to the program allowing users to do pretty much anything they want to an image or photograph. In this short tutorial we’ll cover the uses of the burn tool, when you should use it and a couple of examples. To learn more about the array of tools Photoshop offers, check out the course Photoshop Tools.
The burn tool is often lumped together with the dodge and sponge tool, perhaps because they all are a part of the same tool button on the toolbar. One lightens, one darkens, and one does a little bit of both. So what is the burn tool typically used for? The quick answer is: it darkens things. When you use the burn tool on certain parts of your photo those parts with get darker. The more you use the burn tool on the same areas, the closer to black they will become.
The burn tool functions much like the brush tool does. Once you activate it you can change the brush size and hardness giving you the desired effect. Photoshop users use the burn tool to change the color of details like eyes, flower petals, general discoloration in a photo and to allow certain elements to disappear into the shadows while highlighting others. However, for the last example, the burn tool works best in partnership with the sponge tool. Here are two examples of the burn tool at work.
One thing to note before we get started. Most filters and modifications made to images must be made on a image layer, however, with the burn, dodge and sponge tool, you can edit the image directly. This is great, but it also poses problems for those who do not save their original image before they begin marking it up. Make sure you go to File>Save As and save your file under a new name, like burnimage or something to identify it easily. By doing this, you save your original and you can still play around and save your new edited image. It’s a good habit to get into doing this – regardless of what tools you are using!
Example 1 – Darken
Here we are going to darken the right side of the photo for a “in sun and in shade” appearance.
Step 1
The first step is to open the photo in Photoshop by going to File>Open and selecting the photo to edit.

Step 2
With the photo open, select the burn tool from your toolbar. It can be found by right-clicking on the magnifying glass tool button. If you don’t right-click and only select this tool you will be activating the dodge tool and not the burn. Make sure you see the words “burn tool” and then click them. You can also reach the burn tool by using the Photoshop shortcut O and then pressing SHIFT+O until you reach the burn tool. The burn tool looks like a hand, the dodge tool looks like a magnifying glass and the sponge tool looks like a sponge.

Step 3
In the top left corner of your Photoshop screen you should now see a box with a circle and a number in it. This is where you can change your brush size and hardness. The bigger the number, the bigger the brush size.

Step 4
After you select your brush size you can begin to literally “paint” over the area of the photo you would like to darken. If you are working with a fine detailed picture I suggest zooming in on the section you are trying to edit. You can do this by using CTRL and the plus sign or zoom out by using CTRL and the minus sign. This gives you full flexibility as to where you “burn”. As you paint your picture note that the more times you go over the same place the darker it will appear. If you hold the burn tool over a section to long, it too will become much darker much quicker. This can give an sense of unevenness to the final product, so if you mess up the burn you can step backward by using CTRL+Z or by going to Edit>Step Backward.

That’s it! Save your image and be done with it. Are you a photographer? The burn tool is just the tip of the ice-burg for what is possible in Photoshop. Learn all about the other features in Photoshop for Photographers.
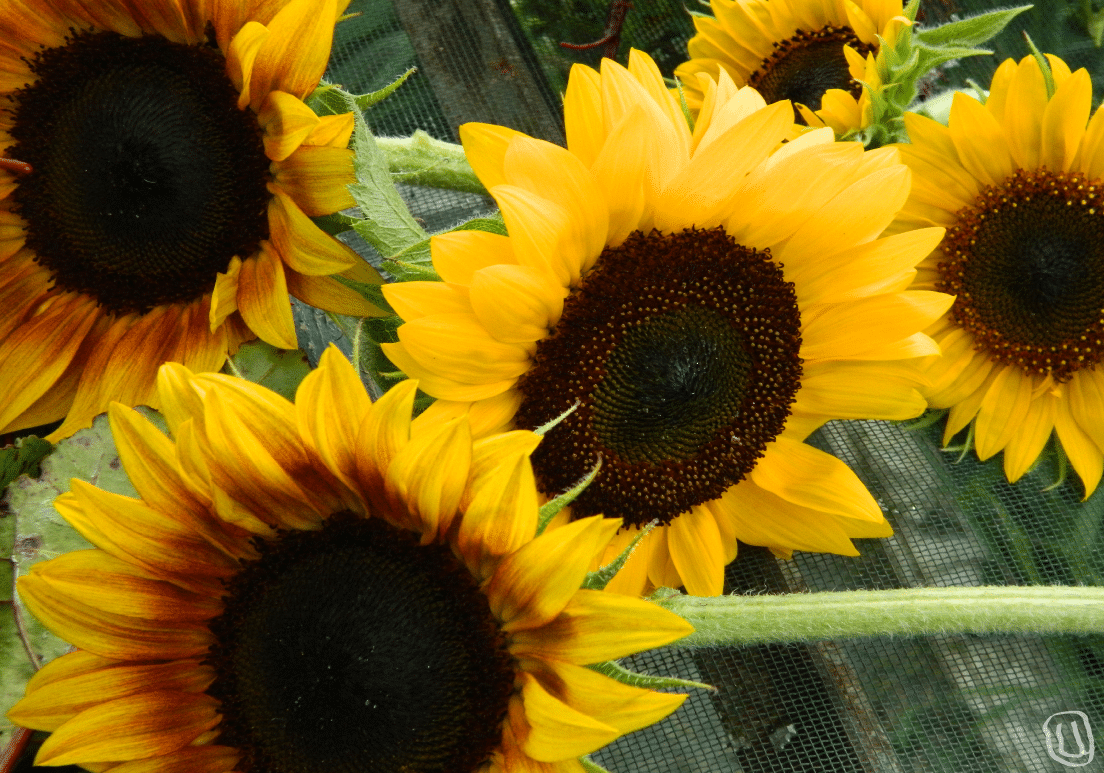
Example 2 – Isolate
Now we are going to use the burn tool in addition to the sponge tool and isolate a few colors out of a sunflower photo. If you’re like me and like playing around with images to enhance their appeal, take the course Be A Photoshop Guru. The class will help you explore your creative side while diving into the fundamentals of Photoshop.
Step 1
Again, let’s start off by opening a new photo in Photoshop. Go to File>Open.
Step 2
Now, the same place you found the burn tool you will find the sponge tool. Right click the button on the toolbar and select sponge. The sponge tool uses the brush feature as well, so you can go to the top of the page and select your brush size and hardness.
Step 3
Begin painting! And by painting, I mean, clicking. A lot of clicking. Using the sponge tool can be a bit tedious, but it does a nice job of giving a color-stripped effect to your photos. If you click enough, you can turn the whole image into black and white except for the item you want to highlight. I didn’t want to do that, so I’ve used the sponge tool to isolate two of the sunflowers.
Original Sponge tool
Step 4
So, now that we’ve got the background looking pretty black and white and the background sunflowers dimmed down a bit, let’s pull out the burn tool to finish the job. Go back to the tool-panel and right click on the sponge. Re-select the burn tool and adjust the brush size as need be. I’m going to paint over the background sunflowers a little bit more to make them just slightly dimmer.

Sponge tool Burn tool
Now you can see how well the burn tool works with the sponge tool in isolating specific colors on your image. To correct additional color imbalances, or to further enhance your image, read about the best color imbalance corrections in this article on Photoshop.
In the end, the burn tool is used to darken skin, change eye color, fade something or someone out of a picture and so on. It’s a great tool to use that doesn’t require a lot of knowledge about Photoshop layers, masks or filters. Perfect for the beginner. Speaking of beginners, check out the course on Photoshop for Beginners to get the scoop on what else you can do in this program.